The Kiosk POS Screen Grid can be customised similar to a standard POS Screen Grid.
Go to: Back Office > Setup > POS Screen > POS Screen Setup.
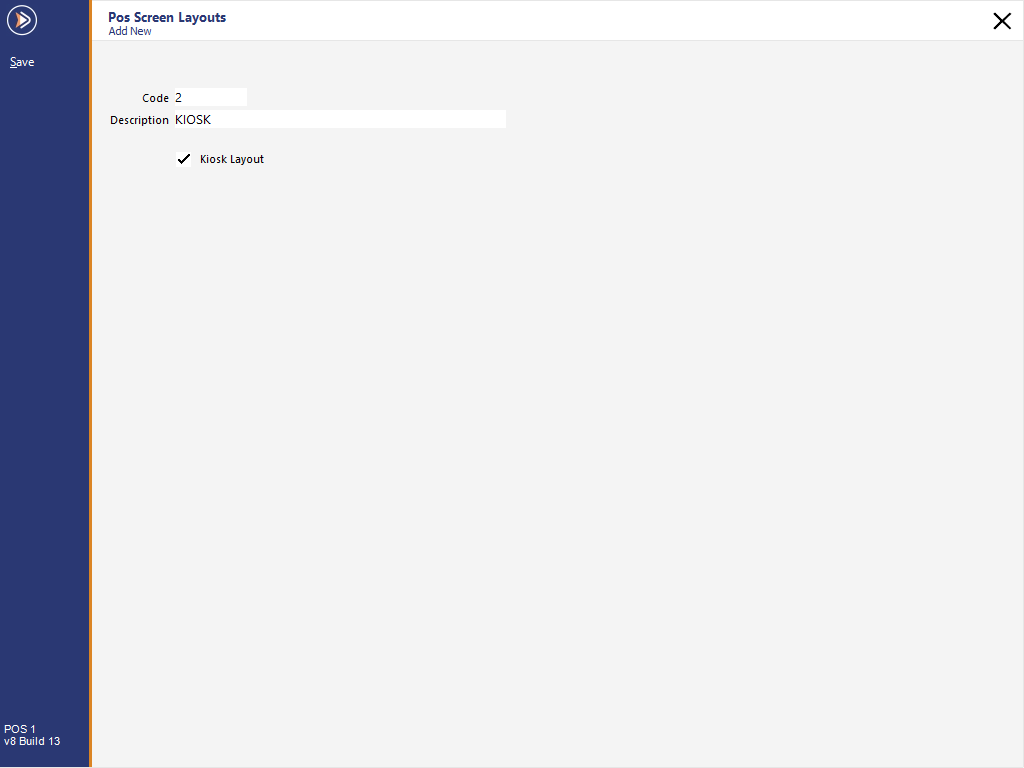
If an existing Kiosk Grid does not already exist, press the 'Add' button.
After saving, close the Add New POS Screen Layouts window, then select the newly created Kiosk Layout > Select 'Buttons' on the top-left corner of the window.

The Kiosk layout can be configured in the same manner as a standard POS Screen Layout.
Note!
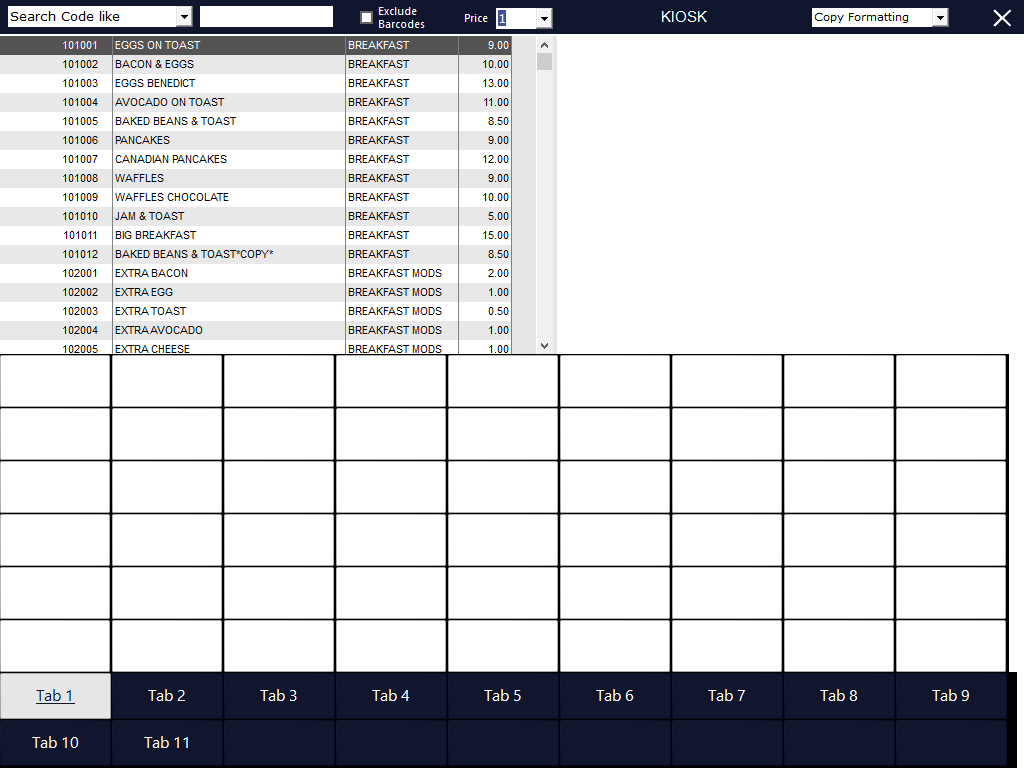
The Kiosk is limited to displaying the first 12 tabs in the POS Screen Layout. Any tabs that appear after the 12th tab will not be displayed on the Kiosk.
The first 12 tabs refers to the entire 9 tabs on the top row and the first three tabs that appear on the left-hand side of the bottom row.
The POS Screen tabs that are visible to the Kiosk have been labelled in the screenshot example below; non-visible tabs are not labelled.
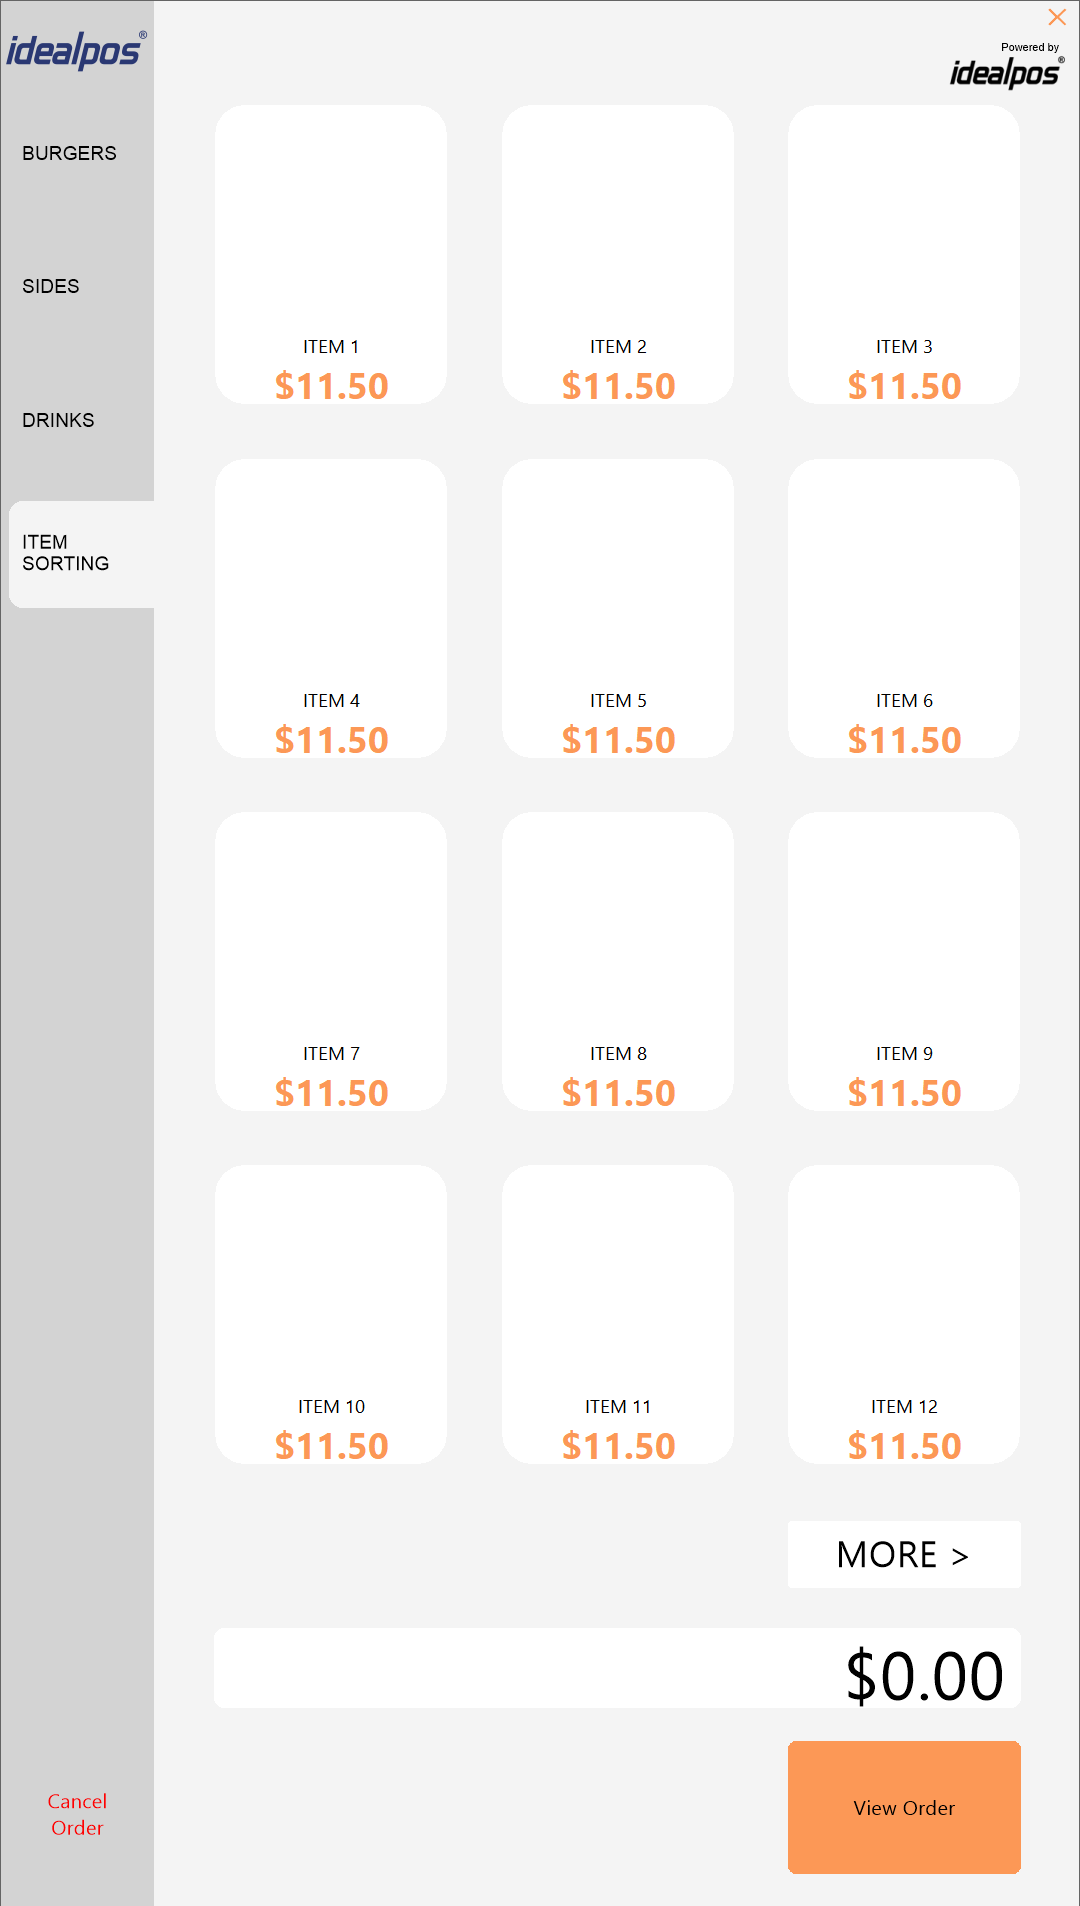
Note that when configuring the Kiosk layout, the POS Screen Layout appears horizontally, whereas the Kiosk is displayed vertically.
Therefore, when adding Stock Items to the POS Screen Layout, add the items in a vertical fashion from top-down starting from the far left-hand side of the POS Screen Layout and working across the layout towards the right.
The Kiosk will display items in that order.
To demonstrate this visually, refer to the two screenshots shown below.